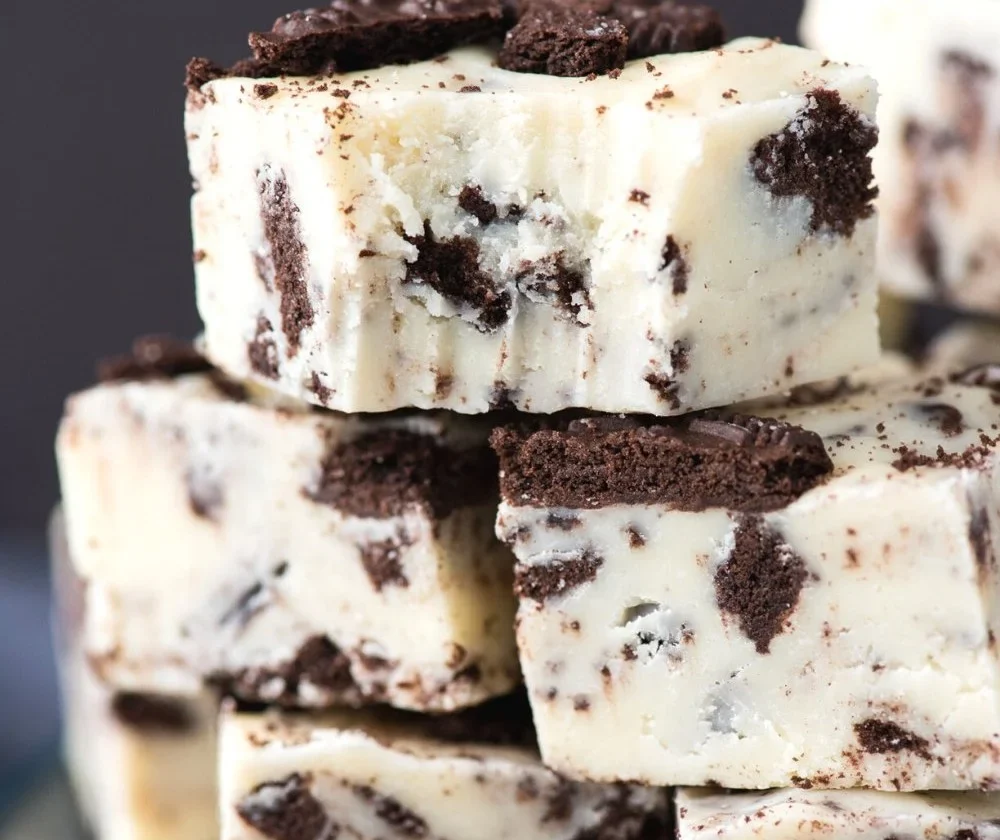
Oreo fudge is a delightful treat that’s as fun to make as it is to eat! This combination of rich chocolate and sweet creaminess, with a burst of Oreo flavor, will certainly delight your taste buds. Whether you’re hosting a party, enjoying a cozy movie night, or just satisfying your sweet tooth, this recipe is a crowd-pleaser that’s easy to whip up. Let’s dive into why making Oreo fudge is a fantastic idea and how you can create your own batch!
Why Make This Oreo Fudge
There’s something special about desserts that come together with little effort yet deliver big on taste. Oreo fudge combines the nostalgia of biting into your favorite cookies with the indulgence of creamy fudge. This treat not only satisfies chocolate cravings, but it also brings joy to any gathering, making it perfect for birthdays, holidays, or just because. Plus, it requires minimal ingredients and can be ready in no time!
How to Make Oreo Fudge
Making Oreo fudge is straightforward. With just a few simple steps, you’ll be on your way to enjoying this delectable treat.
Ingredients:
- 1 package (8 oz) cream cheese, softened
- 2 cups powdered sugar
- 1 cup crushed Oreo cookies (about 10-12 cookies)
- 2 cups semi-sweet chocolate chips
- 1 tsp vanilla extract
Directions:
-
Prepare Your Pan: Line an 8×8 inch baking dish with parchment paper, leaving some overhang for easy removal.
-
Mix the Cream Cheese: In a large bowl, beat the softened cream cheese until smooth and creamy.
-
Add Sugar: Gradually mix in the powdered sugar until fully combined.
-
Stir in Oreo Cookies: Fold in the crushed Oreos until they are well-distributed in the mixture.
-
Melt the Chocolate: In a microwave-safe bowl, melt the chocolate chips in 30-second intervals, stirring in between, until completely smooth.
-
Combine Mixtures: Pour the melted chocolate into the Oreo mixture and add the vanilla extract. Mix until everything is evenly incorporated.
-
Pour into the Pan: Spread the mixture into the prepared pan, smoothing the top with a spatula.
-
Chill: Refrigerate for at least 2 hours or until the fudge is firm.
-
Serve and Enjoy: Once set, lift the fudge from the pan using the parchment paper and cut into squares.
Nutritional Information
Per serving (1 square, based on 16 servings):
- Calories: 150
- Total Fat: 8g
- Saturated Fat: 5g
- Carbohydrates: 19g
- Sugars: 16g
- Protein: 2g
How to Serve Oreo Fudge
Oreo fudge shines on its own, but you can also serve it with a scoop of vanilla ice cream or a dollop of whipped cream for extra indulgence. For a fun presentation, drizzle some melted chocolate over the top or sprinkle some more crushed Oreos.
How to Store Oreo Fudge
To keep your fudge fresh, store it in an airtight container in the refrigerator. It can last for up to two weeks—if it lasts that long without being devoured!
Expert Tips for Perfect Oreo Fudge
- Avoid Overmixing: When adding in the Oreos, just fold them gently to maintain their crunch.
- Use High-Quality Chocolate: This significantly impacts the flavor, so choose good quality chocolate chips for melting.
- Let It Set: Be patient while it chills—this allows the fudge to firm up nicely, making it easier to cut.
Delicious Variations
- Add a Nutty Touch: Mix in some chopped nuts along with the Oreos for a bit of crunch.
- Minty Oreo Fudge: Use mint-flavored Oreos for a refreshing twist.
- Peanut Butter Swirl: Fold in some peanut butter for a delicious combination of flavors.
Frequently Asked Questions
-
Can I use different types of cookies?
- Absolutely! You can substitute Oreos with other cookies like Double Stuf or even graham crackers for a different flavor profile.
-
How can I make this fudge vegan?
- Substitute cream cheese with a vegan cream cheese alternative, and use dairy-free chocolate chips.
-
What if my fudge doesn’t set properly?
- If it’s not firming up, try refrigerating it longer. Make sure all ingredients, especially the chocolate, are properly combined.
Conclusion
Oreo fudge is a quick and delightful treat that everyone will love. With its smooth texture, rich chocolate flavor, and crunchy cookie bits, it’s hard not to go back for seconds. So, gather your ingredients and give this recipe a try! You might just find that it becomes your go-to dessert for every occasion. Happy cooking!